1. First, in a large bowl mix together 1.5 teaspoons instant yeast and ½ teaspoon of sugar.
Usually instant yeast can be mixed directly in the flour or in water at room temperature. But I am detailing this method as it can be implemented if you are using dry active yeast. Add 2 teaspoons dry active yeast for this pizza crust recipe.

2. Add 1 cup of lukewarm water (44 degrees Celsius) and stir. Set aside and let the yeast activate.
Tip: The water has to be lukewarm and not hot or cold. Hot water will kill the yeast and cooler water won’t activate the dry active yeast.

3. You should start to see the yeast mixture bubbling up and doubling in size after about 10 to 15 minutes.

4. Combine 1 cup of unbleached all purpose flour (or bread flour) with 1 teaspoon of salt and 3 tablespoons of olive oil.

5. Stir with a whisk or wooden spoon or steel spoon.

6. Add one more cup of the flour.

7. Keep on stirring. The mixture will be quite sticky, like in the photo below.

8. Add the last cup of flour and continue to stir. The dough will start to form and leave the sides of the bowl, but will still be sticky.

9. Now it’s time to knead the dough by hand until it forms a smooth dough. Dust with flour to prevent sticking as you work. The dough will be soft and elastic, and no longer sticky.
Tip: If the dough becomes sticky, sprinkle some flour and knead. If the dough looks dry and not smooth, sprinkle a bit of water and knead.

10. Keep your dough in the deep bowl, and lightly apply a bit of olive oil all around the outside of the dough. This will keep it from sticking to the sides of the bowl once the dough proves and grows.
Cover loosely with a kitchen napkin or towel, and let rest at room temperature for the dough to leaven:
- 45 minutes to 1 hour for instant yeast
- 1.5 to 2 hours for dry active yeast

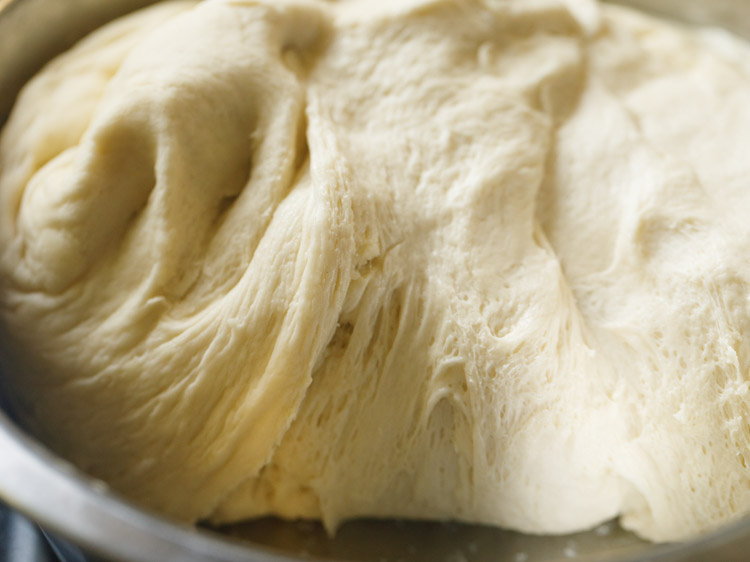
11. After exactly 1 hour my dough had risen and doubled up to what you see below.
If you plan to make the pizza the next day, then wrap the dough tightly in a plastic wrap and keep in the fridge.

12. To make the pizza right away, portion and flatten the dough to a disk. In the below photo, you can see that the dough has leavened well, with stringy strands and many air pockets that will make a chewy crust.
Make Pizza Sauce
You can easily make a zesty, robust tomato sauce while the dough is resting. The recipe makes for a bigger batch of tomato sauce which you can always refrigerate or freeze.
1. You can choose to either chop the tomatoes (500 grams or 5 to 6 medium tomatoes) and use them fresh to make the sauce, or blanch them first and then add in a blender.
Blanching will reduce the cooking time, but is not necessary for making a delicious sauce.

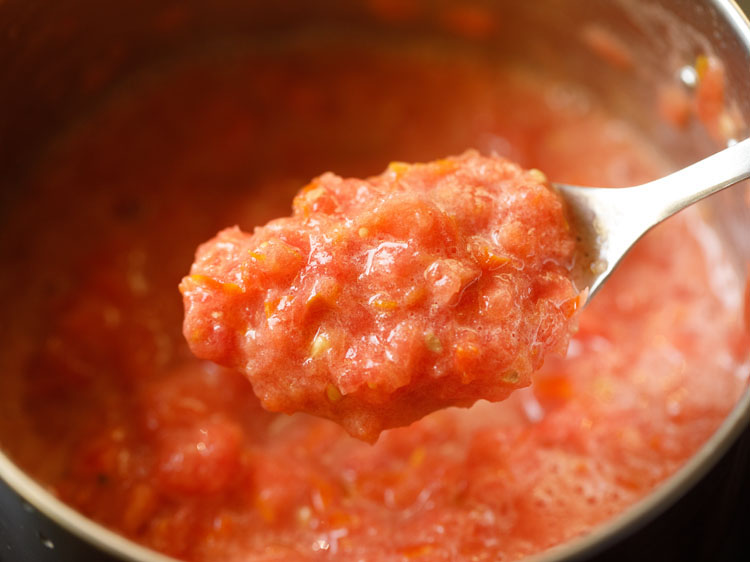
2. Crush the raw or blanched tomatoes in the blender to make a puree that is as smooth or chunky as you like for this pizza recipe.
3. Next, in a large sauce pan heat ¼ cup olive oil, and add 2 teaspoons minced garlic. Sauté and stir for some seconds to soften the garlic.

4. Now add the tomato puree, and mix well.

5. Continue stirring and let the tomatoes cook for 5 minutes.
6. Add salt as needed. Mix and stir.

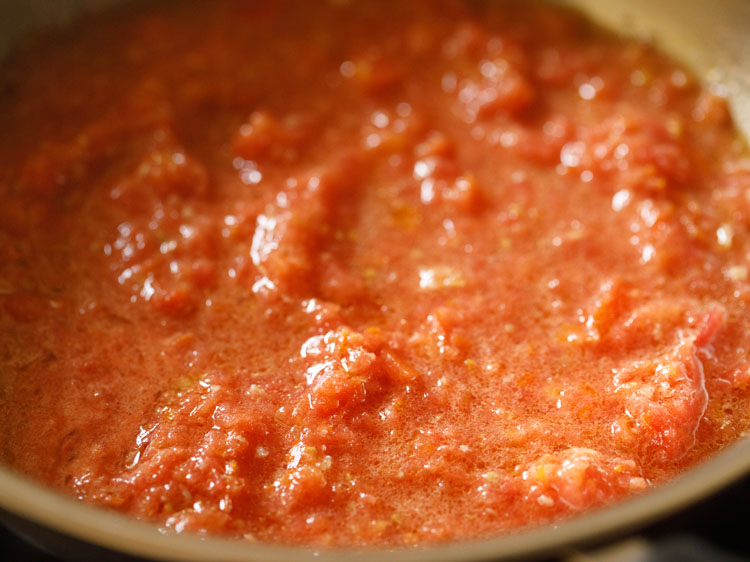
7. Cover the pan with lid and simmer the tomato sauce on low heat for 20 minutes, stirring occasionally, until the tomatoes have softened.
If the sauce looks too thick you can add ¼ cup water. Then cover and continue to cook.

8. Simmer until the tomatoes have completely cooked and the sauce has thickened.

9. Stir in herbs and crushed black pepper.
For the pizza sauce seasonings in this recipe, you can add ¼ cup chopped basil (or 3 to 4 teaspoons dried basil), 2 to 3 teaspoons dried oregano (or 2 tablespoons fresh oregano) and fresh crushed black pepper as needed.
If you can I recommend using fresh herbs for the boldest Italian flavor.

10. Mix the sauce well and set aside.
You can allow the pizza sauce to completely cool and store in an airtight container for up to 10 to 15 days in the fridge, or 3 months in the freezer, and use anytime you’re ready to bake the pizzas.

Assemble & Bake Pizza
1. First, preheat the oven to the highest temperature in your oven. In my oven it is 230 degrees Celsius (450 degrees Fahrenheit).
Use both the top and bottom heating elements of the oven as we want a uniform and even baking of the pizza.
Grease a round metal baking pan with olive oil, and then lightly dust it with maize flour (cornmeal), semolina (rava or sooji) or flour.

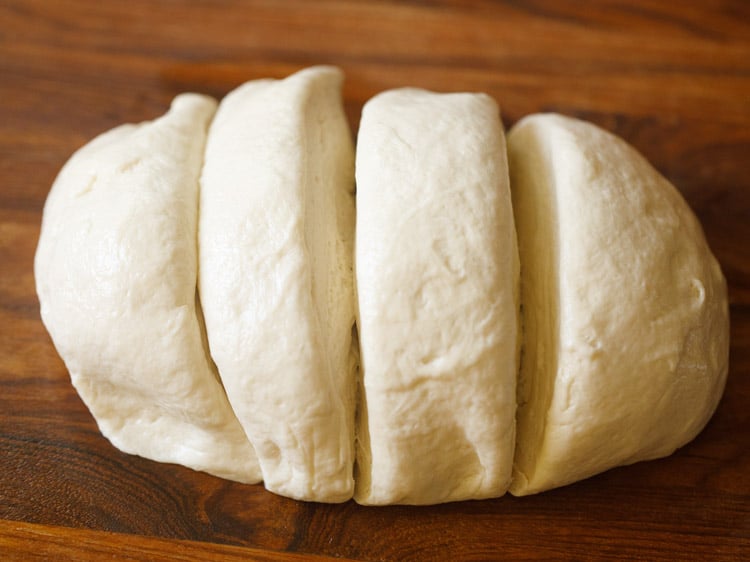
2. Divide the homemade pizza dough into equals parts to make either 4 small or 2 large or 3 medium size pizzas.
Wrap any dough you’re not using in plastic wrap and keep in the fridge for up to 3 days total.
To store in the freezer for up to 3 months, lightly coat the dough in olive oil and seal in an airtight freezer storage bag.
3. Using clean, dry hands, take one portion of the divided dough and roll it into a neat round ball.
Place on a cutting board or countertop that’s been lightly coated with some flour, and sprinkle the dough with a light dusting of more flour.

4. Use a rolling pin to roll the dough ball into a large round or oval shape of about ⅛ to ¼ inch thickness.
Roll the dough from the center towards the outer edges for the most even pizza dough. You may have to dust the surface with flour as you work.
A pizza dough is always stretched with hands and not rolled. Stretching the dough with your hands needs practice.
For most home cooks, rolling the dough is much easier and so I have included this step. You could also flatten and press the dough with your fingers directly in the baking pan.
I do stretch or flatten the dough with my hands but not everyone is good at this. Thus rolling makes it easier.
If you are a master at stretching dough with your hands, then go ahead with this technique.

5. Once stretched to the desired size, gently place the pizza base in the greased baking pan. Be careful not to tear the dough, as it is very soft and stretchy.

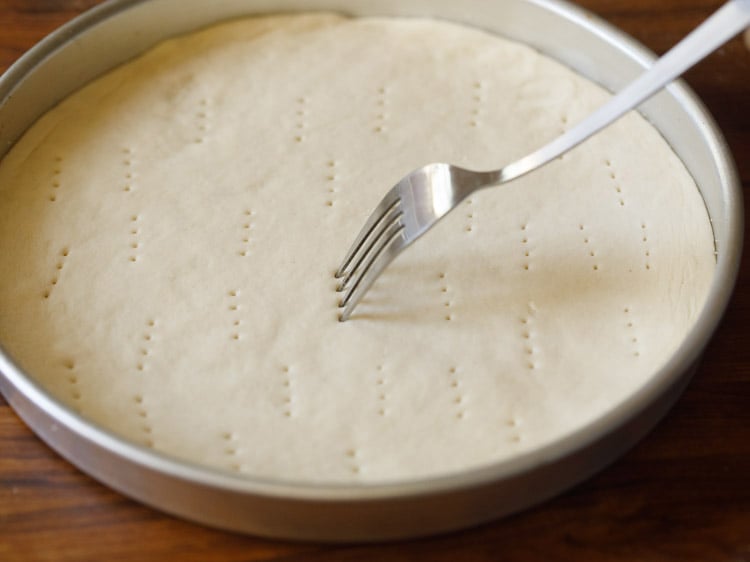
6. At this point you can prick the dough with a fork if you want a thinner, crisper crust. This also helps in the crust not puffing up when baking.
However, you can leave the dough as-is for a fluffier, chewier vegetable pizza crust.
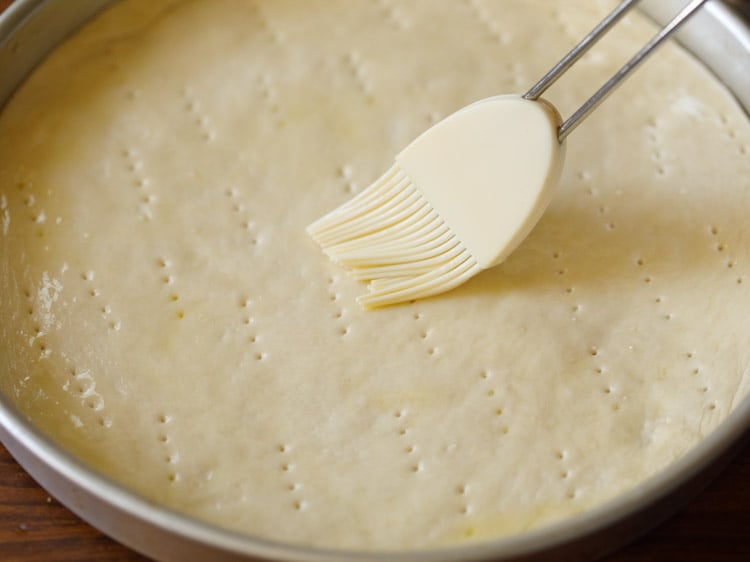
7. Use a pastry brush to lightly brush the surface of the crust with olive oil.
8. Then, spread the tomato sauce on the pizza in a thin, even layer. Leave about an inch of dough around the outer edge free from sauce for a perfect pizza crust.

9. Top the sauce with a generous handful or two of shredded mozzarella cheese.

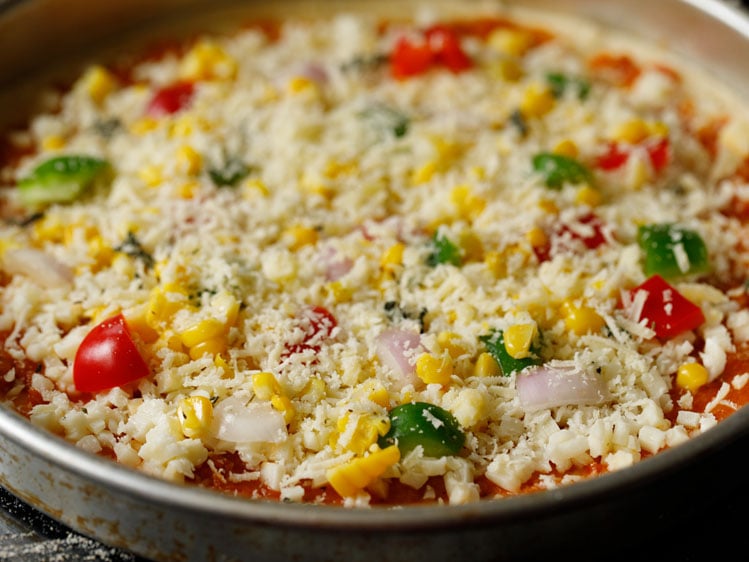
10. Place your choice of veggies on top of the cheese, making sure to spread the toppings evenly.
In the below photo, the vegetable toppings are red onion, green & red bell pepper and steamed corn kernels.
Keep reading for some of my suggestions for great pizza toppings for this Veggie Pizza recipe!

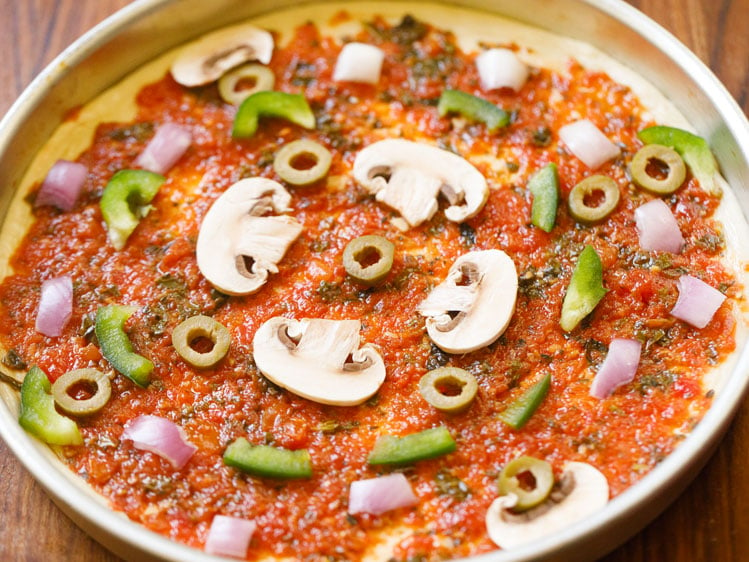
11. Here is another topping idea for you – a few mushrooms, onions, capsicum and green olives.
When using mushrooms make sure they are fresh and use them sparingly. Many mushrooms will make the crust soggy.
For an all mushroom pizza, sauté or stir-fry sliced mushrooms till they are light golden before topping them.
12. Next, add a light layer of grated parmesan cheese to finish the pizza.
13. Place the baking pan close to the lower heating element (or you can keep it even on the crumb tray of your oven) to get the crispiest crust and perfectly molten, gooey melted cheese.
Bake the veggie pizza in the preheated oven for 10 to 15 minutes, until the cheese melts and the crust is golden.
Alternatively preheat a baking sheet in the oven for 20 minutes when you assemble the pizza in the baking pan.
Place the pan with the pizza on the hot baking sheet which will help in getting a crisp crust.
14. Your perfect personalized veggie pizza is now ready to enjoy!

15. Wait for a minute or two and then serve the veggie pizza while still hot. Sprinkle red chilli flakes (red pepper flakes) or dried herbs or Italian seasoning.
If you have fresh basil leaves, garnish the pizza with torn or roughly chopped basil before serving it hot.
Leftovers can be kept in a sealed container for up to 1 day in the fridge.
